

My recipe for a moist, light & spiced carrot cake with a cream cheese frosting. Yum! This recipe can be used to make cake or muffins - you'll find the method for both below.
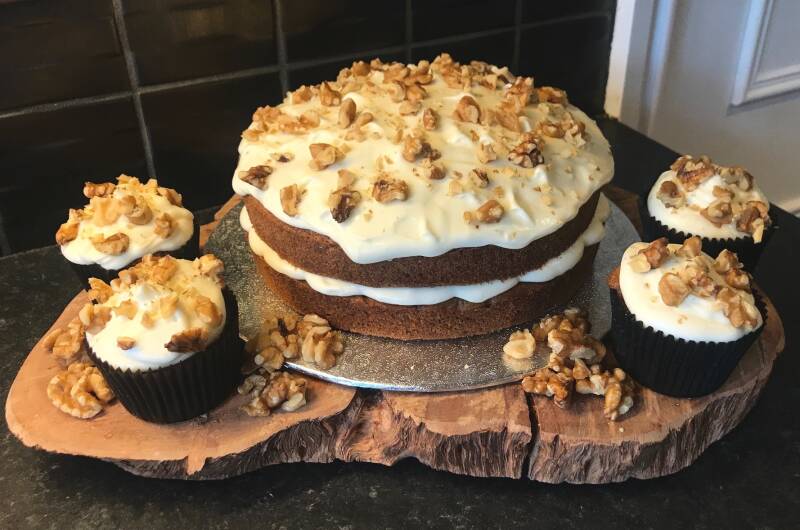
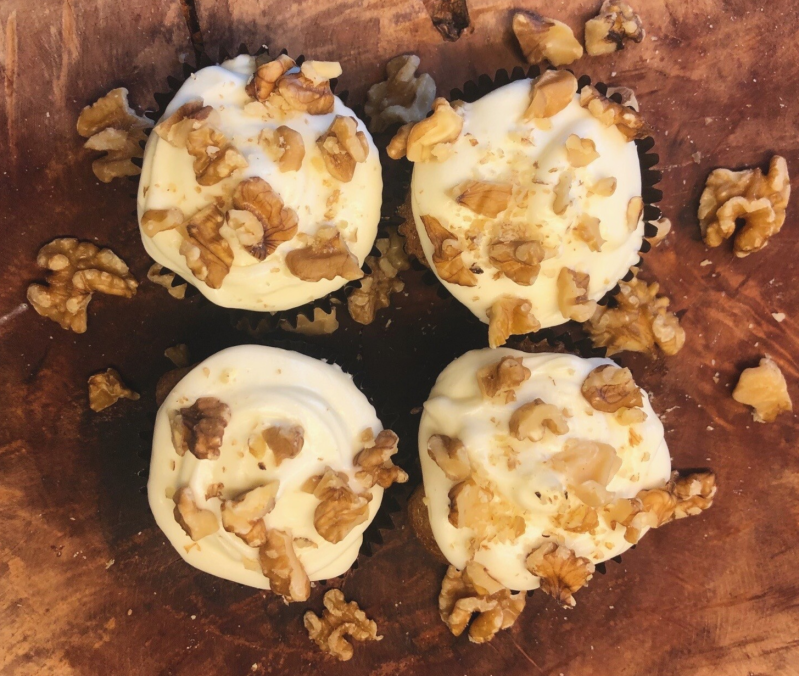
This carrot cake recipe is moist yet light, has warmth from the spices and sweetness from the frosting. The flavours in this cake are well balanced - the ingredients work together in harmony to create a unique taste where no ingredient overpowers another. I also added crushed walnuts to the top of my cake and muffins, which gave another layer of texture & a little decoration. If you don't like walnuts, you can get creative and add anything you like!

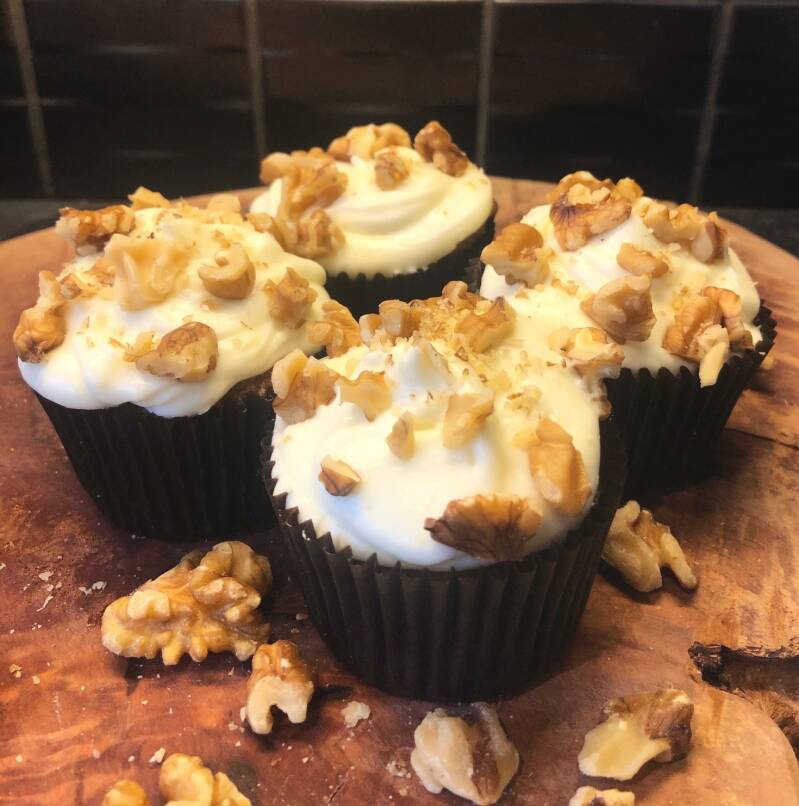

This is another recipe that can be adapted to create a version for everyone! You can use the recipe to make a 2 layer cake or some carrot cake muffins - the mixture is exactly the same so do whatever you prefer. As well as adding walnuts to the top of your carrot cake, you could also run them through the mixture before the cakes go in the oven. Or, for an extra flavour and some texture, run some dried fruit through like raisins (just be careful not to add anything too flavoursome, as the flavour of this cake is already well balanced).
In the 'substitutes' section i've also added some ideas for how to make this cake vegan. I haven't tried this for myself, but if you want to give it a go feel free to ask me any questions and let me know how it works!
If you do try out this cake or these muffins, you'll be learning some basic baking skills along the way too! The cake batter recipe uses the same steps as you would do for most cakes; beat butter & sugar, add eggs (one at a time), add flavour, then alternate between dry & wet ingredients. You can apply this to most cake recipes and it should result in a perfect, light cake!
The cream cheese frosting recipe is a basic one with no added flavours, so it can be used for other cakes too. Just note that cream cheese frosting tastes best with cakes with a deep, spiced flavour - I've also paired it with a stem ginger & poached pear cake (incredible!!!). Let me know if you would like a recipe for this cake too in the comments below.
This recipe also includes a basic step-by-step method for assembling a cake, decorating muffins, and an introduction to piping. I used a super easy piping technique and help you learn a no-mess way to fill your piping bag!
My challenge to you: try out this recipe, post a pic of your attempt online and tag 3 people to try it out for themselves (make sure to tag me on Instagram or post on my Facebook page so I can see).
Happy Baking!
RECIPE
Ingredients:
This recipe will make a 2 layer cake or 12-16 muffins (depending on the size).
For the cake:
- 220g unsalted butter (room temperature)
- 215g golden caster sugar
- 3 eggs
- 1tsp vanilla extract
- zest of 1 orange
- 250g plain flour
- 1.5tsp baking powder
- 0.5tsp bicarbonate of soda
- 1tsp salt
- 1.5tsp cinnamon
- 0.5tsp nutmeg
- 1tsp ground ginger
- 250ml milk
- 100g carrots (approx 2 carrots) peeled and grated


For the cream cheese frosting:
- 70g unsalted butter
- 200g cream cheese
- 450g icing sugar
To decorate (optional):
- walnuts (chopped & crushed)


Substitutes:
- If all you have at home is salted butter - don't worry. That will work fine, just don't add the extra teaspoon of salt to your mixture.
- White caster sugar will work instead of golden - the golden caster sugar just adds more of a caramel taste.
- I know plain flour is like gold dust at the moment, so you can swap that for self raising flour and just use half a teaspoon of baking powder.
- I haven't tried a vegan version of this cake, but you could substitute sunflower oil for the eggs (use 180ml) and the milk for any non-dairy milk of your choice. For the frosting - a basic vegan buttercream may be the way to go! Use sunflower spread instead of the butter and cream cheese.
You will need:
For a 2 layer cake:
- stand mixer/electric hand whisk
- spatula
- baking paper
- 2x8" round cake tins (greased & lined)
- cooling rack
- cake board (or plate)
For muffins:
- stand mixer/electric hand whisk
- spatula
- baking tray
- muffin tray
- muffin cases
- cooling rack
For the frosting:
- stand mixer/electric hand whisk
- spatula
- piping bag
- pallet knife (or blunt knife)
Method:
For a 2 layer cake:
- Prepare all of the ingredients for the cake.
- Preheat your oven to 180°C/160°C Fan.
- Grease 2x8" round cake tins and line the base with baking paper.
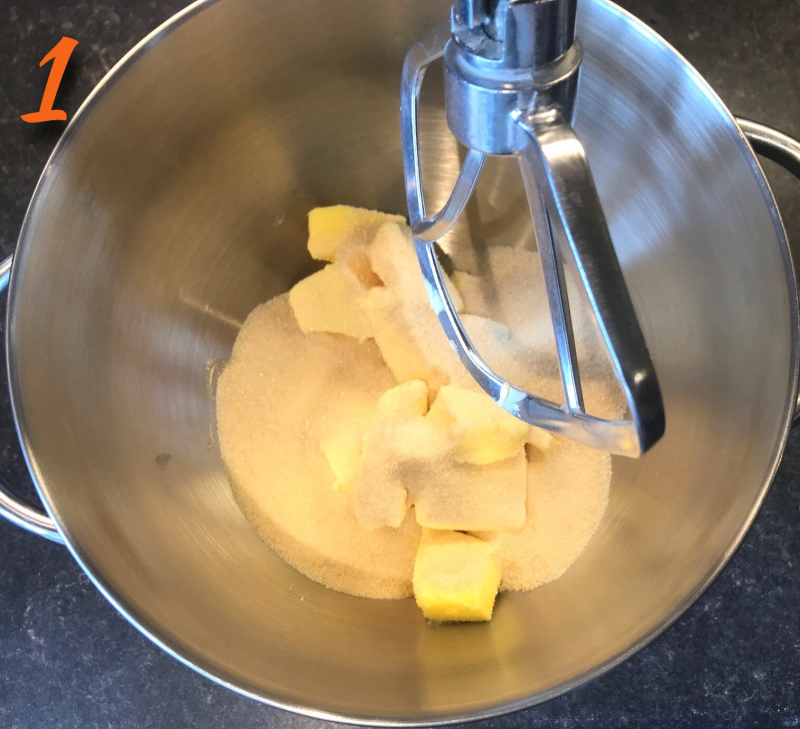
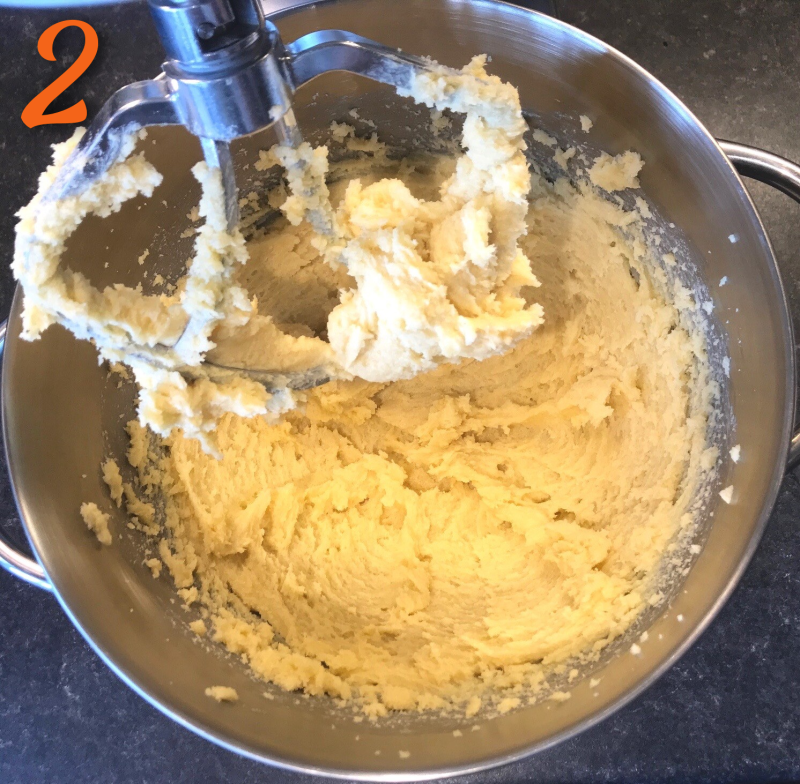
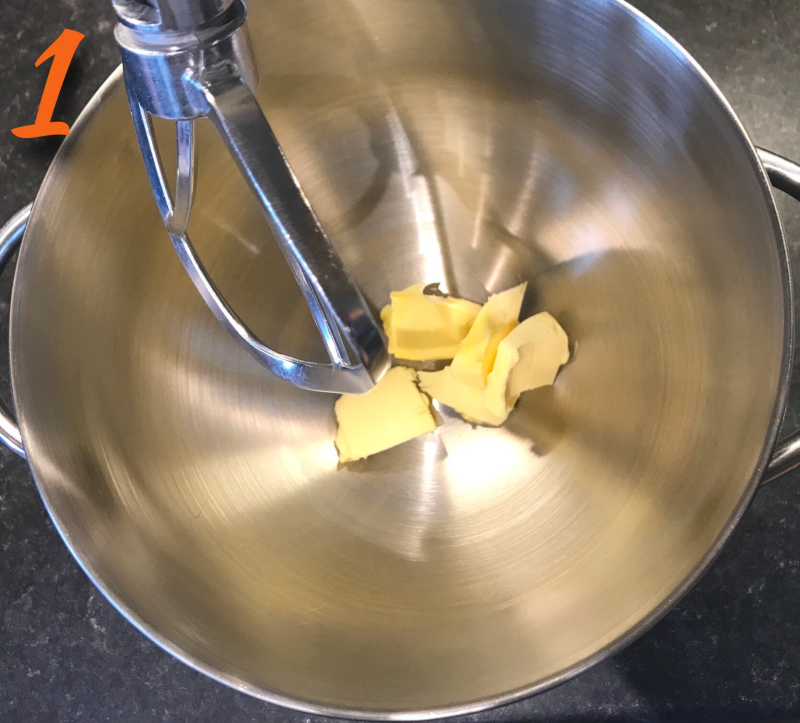
- Stand mixer: in the bowl of the stand mixer fitted with the paddle attachment, beat the butter and sugar together on medium until light and fluffy - this should take 3-4 minutes. Electric hand whisk: beat the butter and sugar together in a mixing bowl until light and fluffy - this should take 5-6 minutes.
- Add in the eggs one at a time, mixing well (on medium speed) after each addition.
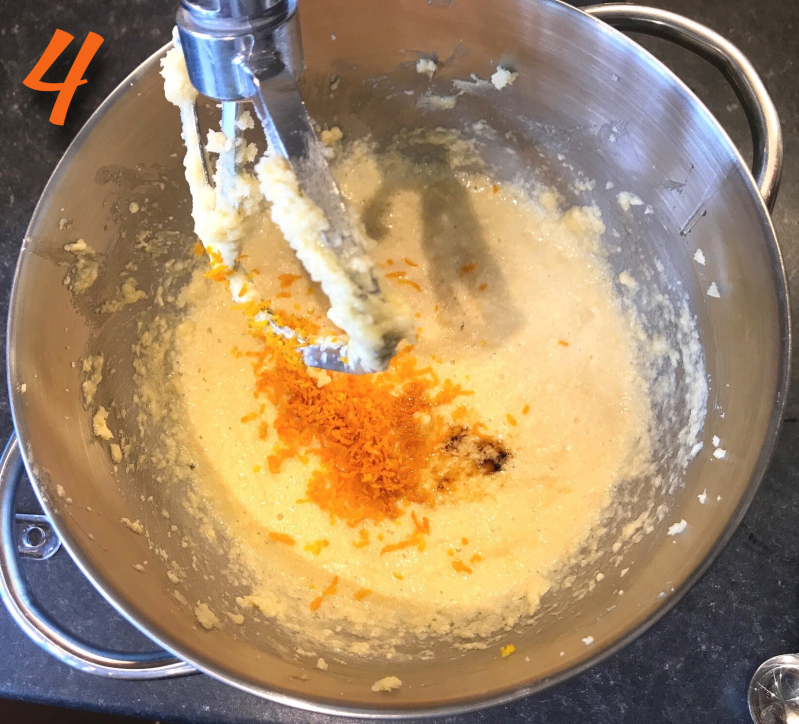
- Add the vanilla extract and orange zest and mix to combine.
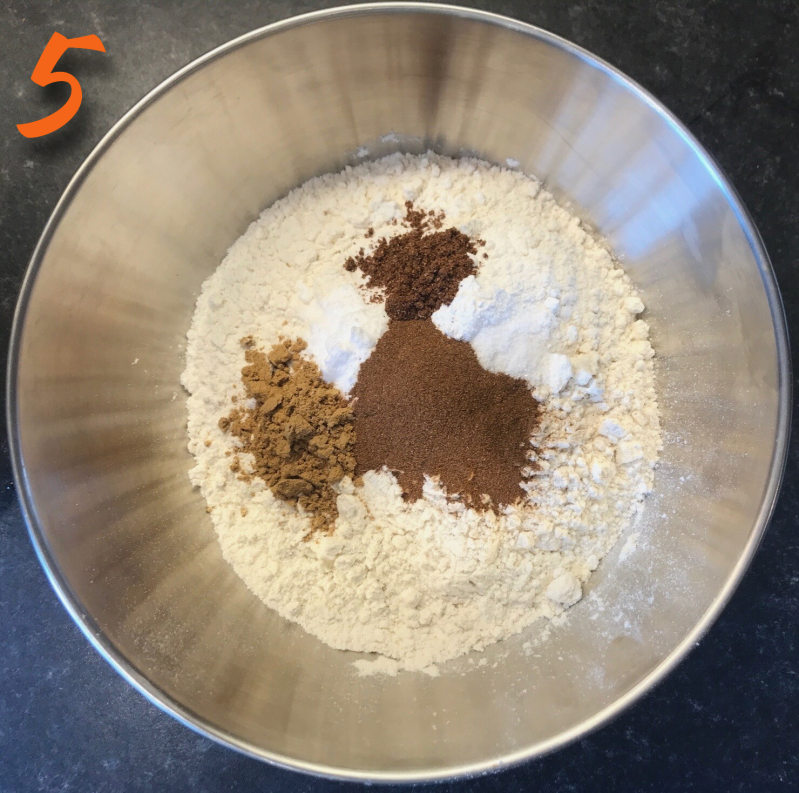
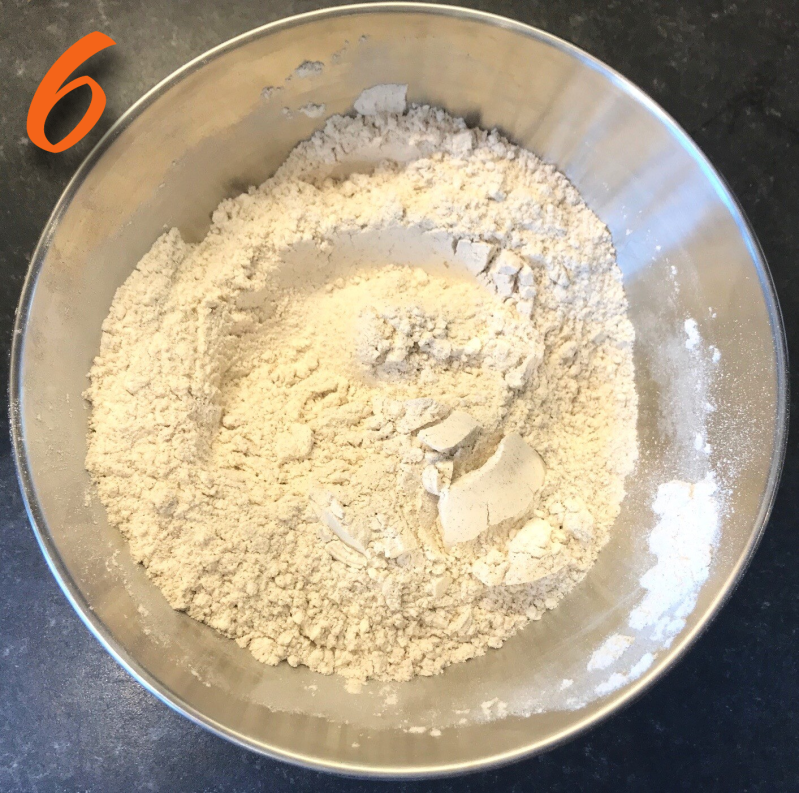
- In a separate bowl, combine all of the dry ingredients.
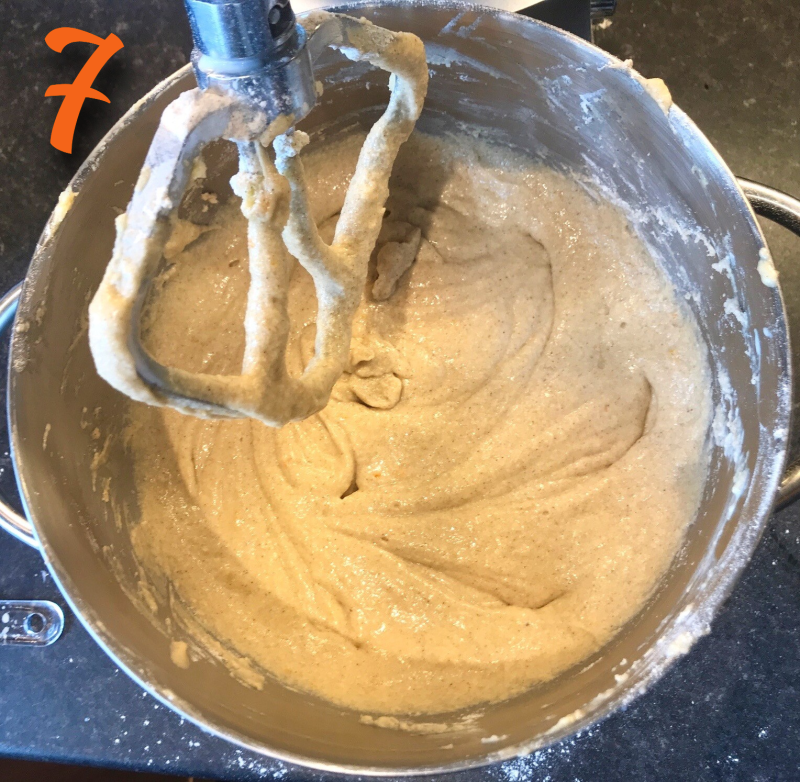
- Next, using the flour mixture and the milk, add each one a little at a time, alternating between the two (dry then wet then dry etc). Mix well to combine all of the ingredients between additions - you may have to use a spatula to scrape down the bowl). Make sure you begin and end with the dry ingredients.
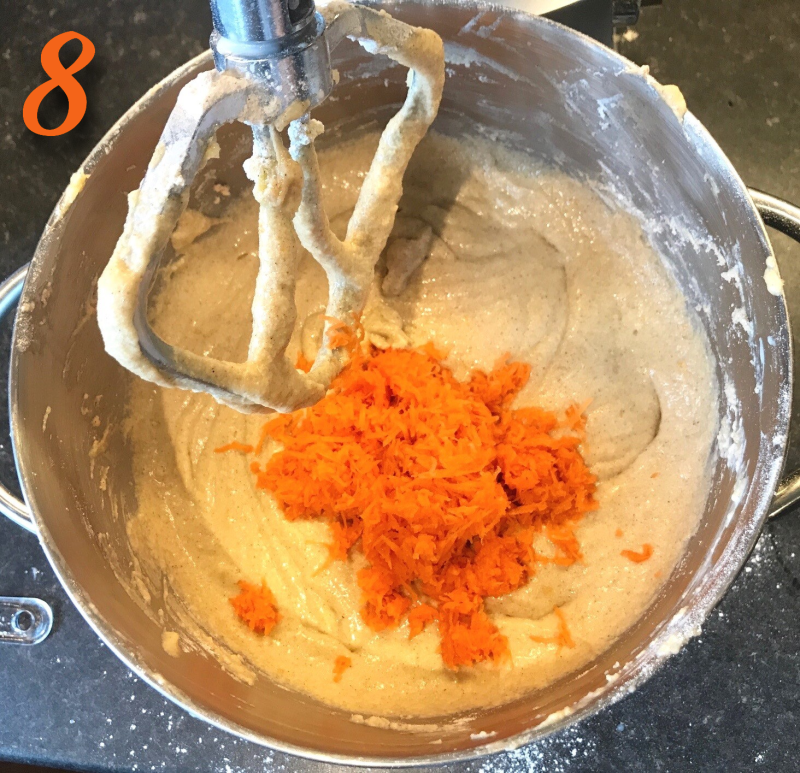
- Add the grated carrots and mix until combined.
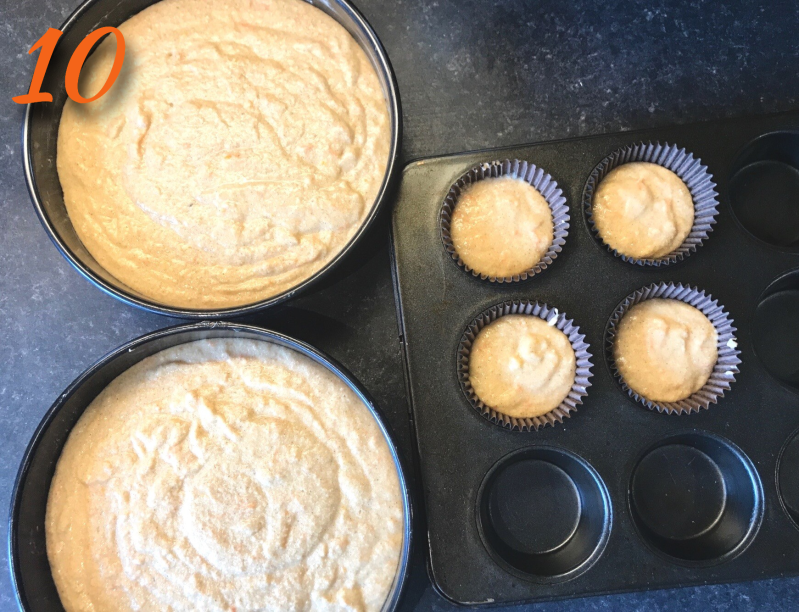
- Divide the mixture evenly between your 2 cake tins and level off with a pallet knife.
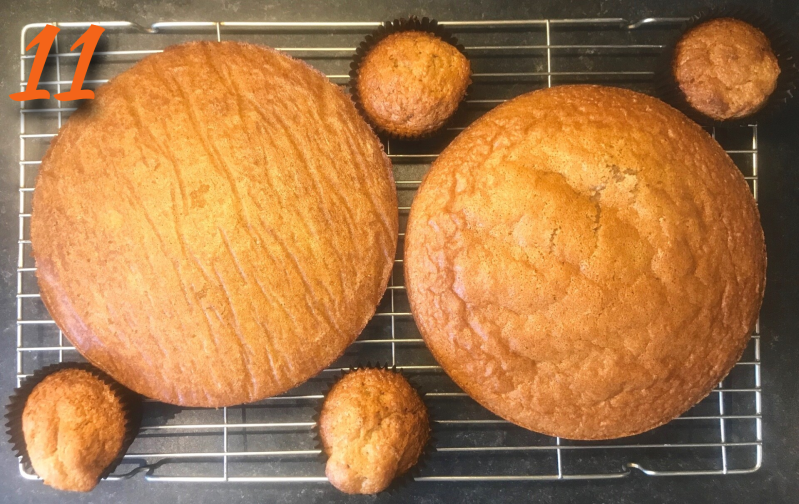
- Place your cakes in the pre-heated oven for 30-35 minutes. when properly baked, the cakes should be a lovely golden colour and spring back. A skewer should come out clean - if it does, your cakes are baked through.
- Leave the cakes to cool in the tins for 5 minutes before tipping them out onto a cooling rack. Leave to cool completely.
For the muffins:
- Prepare your ingredients for the muffins.
- Preheat your oven to 180C/160C Fan.
- Line your muffin tray with muffin cases.
- (Follow instructions 4-9 above).
- Divide the mixture evenly between your muffin cases.
- Place in the preheated oven for 20-25 minutes. The muffins should be golden on top and a skewer should come out clean.
- Leave the muffins to cool in the tray for 5 minutes before transferring to a cooling rack to cool completely.


For the frosting:
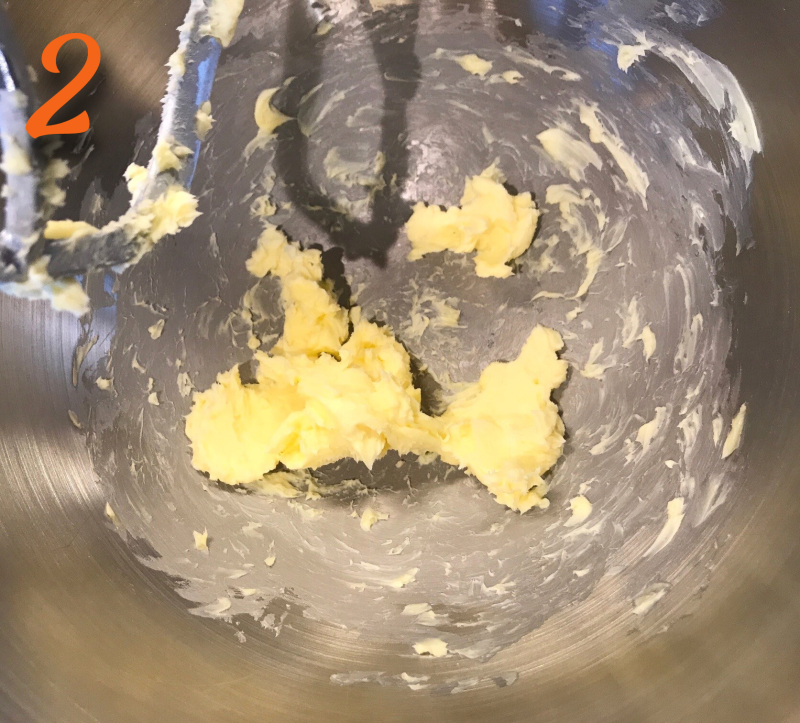
- Stand mixer: beat the butter in the stand mixer with the paddle attachment for around 2 minutes until light and fluffy. Electric hand whisk: Beat the butter for 2-3 minutes until light and fluffy.
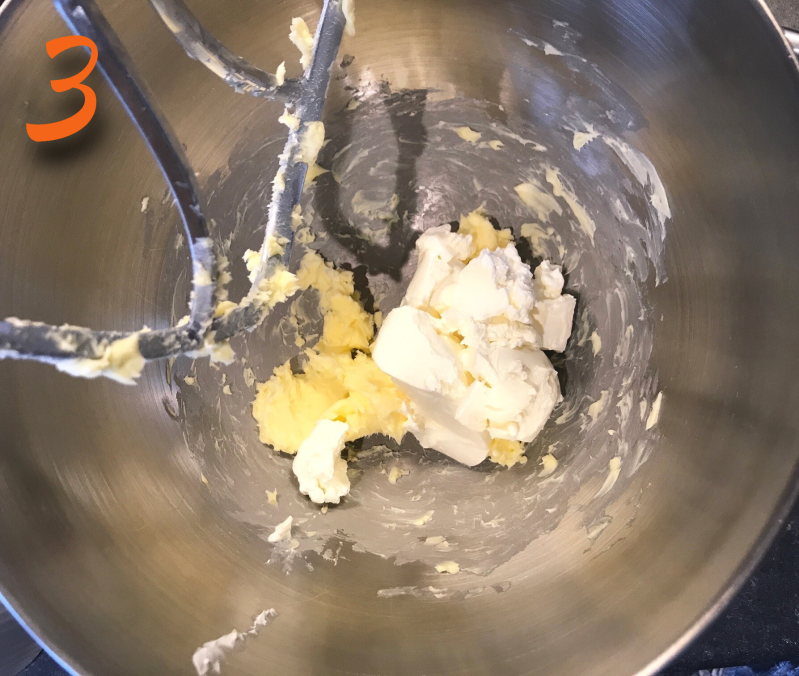
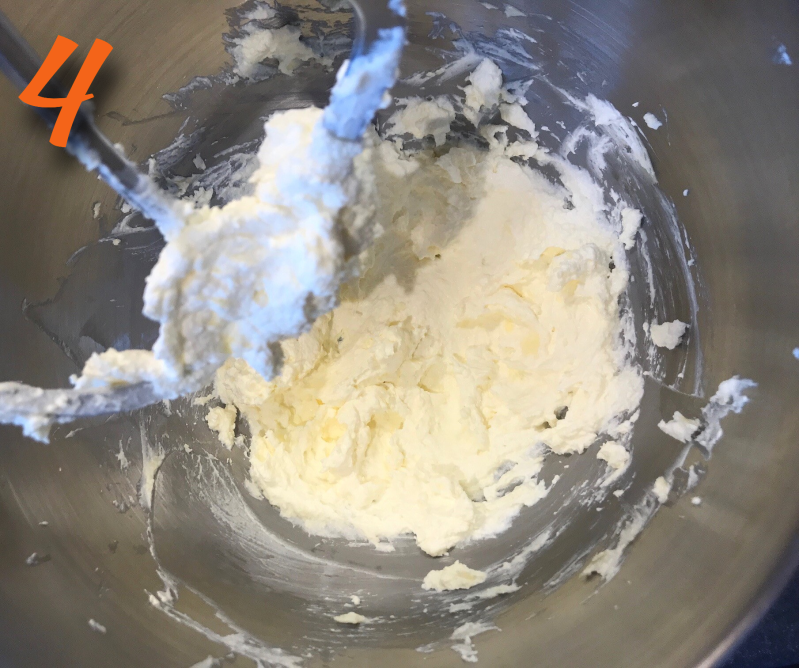
- Add the cream cheese and beat until combined (about 3 minutes).
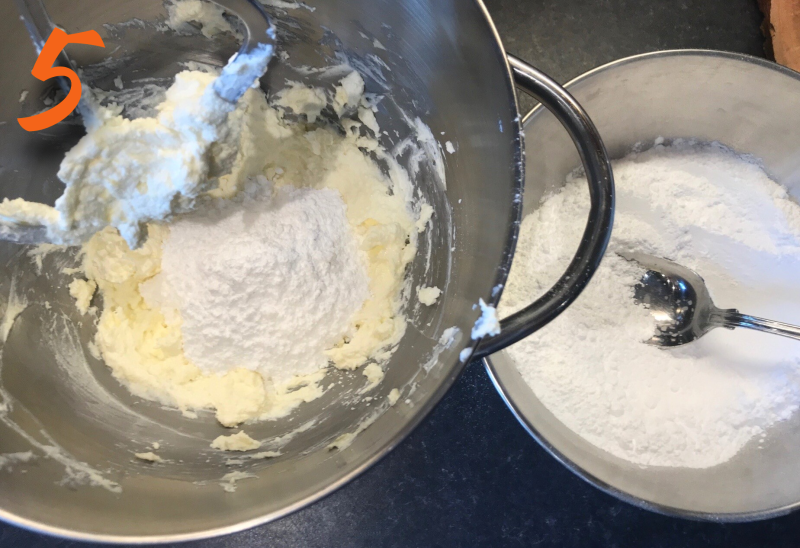
- Add the icing sugar a bit at a time, beating well in between additions (use a tea towel to cover the mixer/mixing bowl or it'll get very messy!).
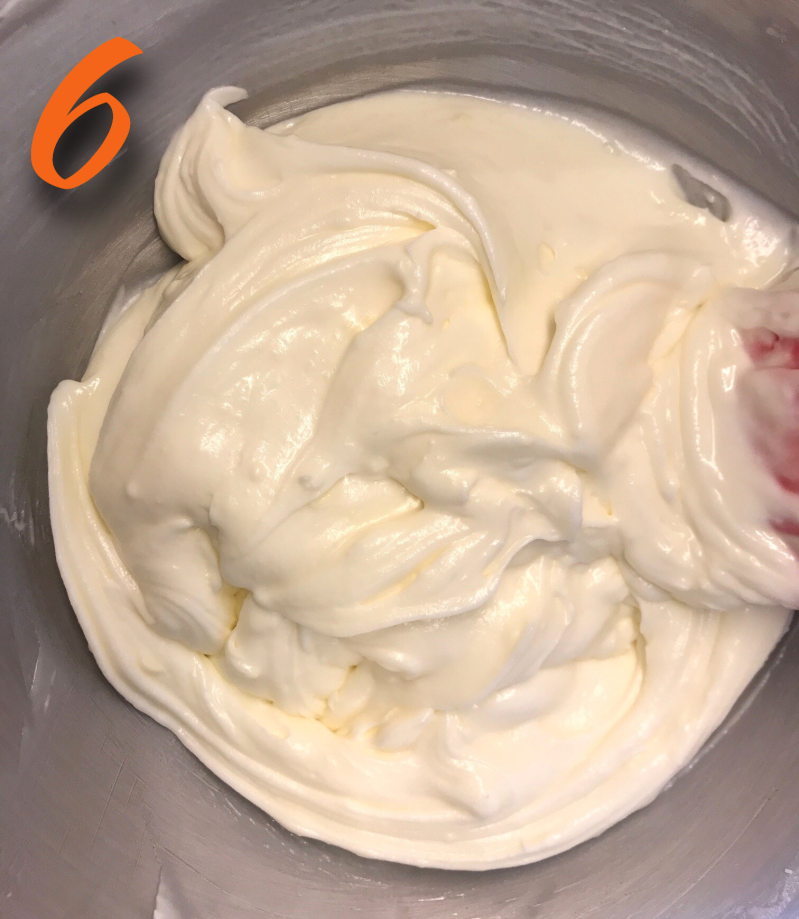
- Once all of the icing sugar is incorporated, beat on medium-high for 3-4 minutes until the frosting super smooth and shiny (see step-by-step photos).
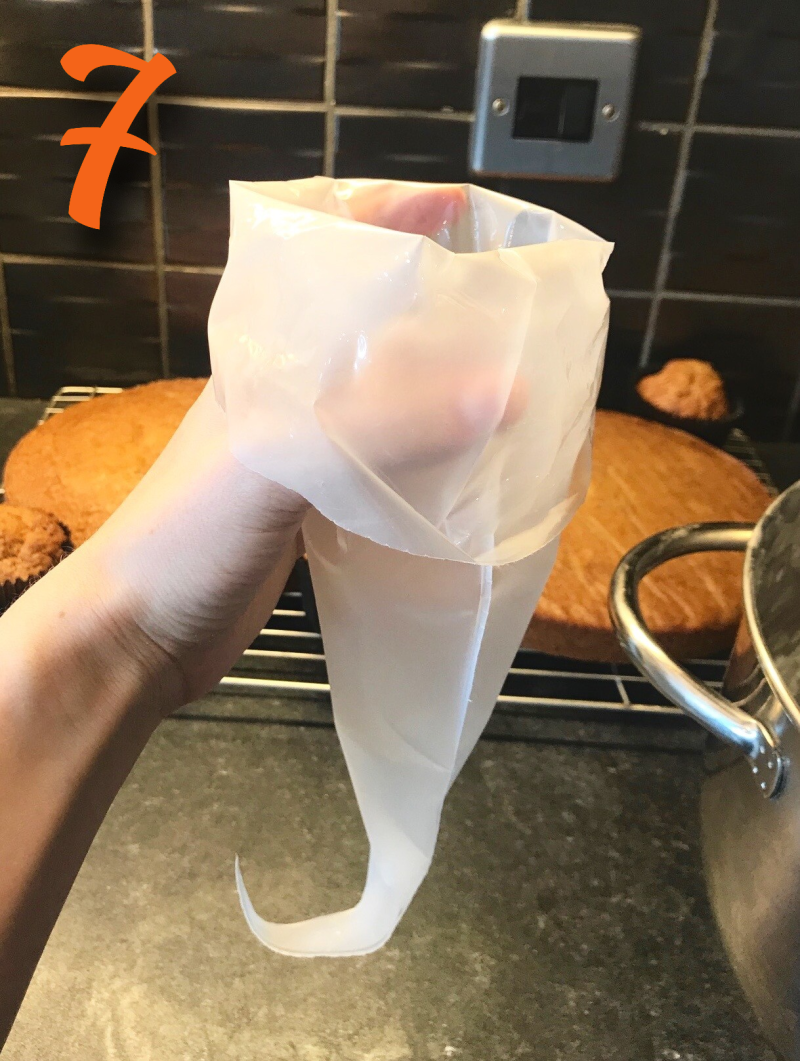
- Load your piping bag up with the frosting. Fold the top of your piping bag over your hand (see step-by-step photos) - this makes it much easier to fill!
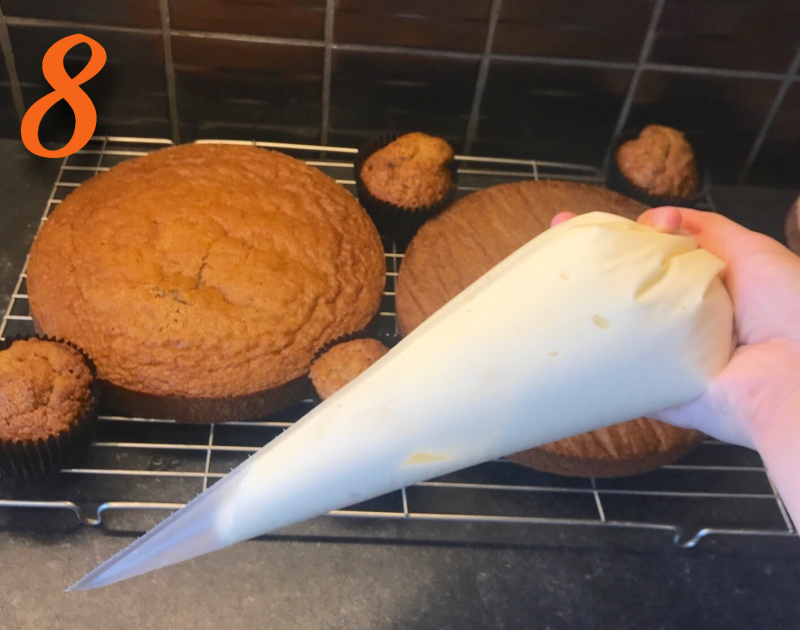
- Twist the top of your piping bag and push the frosting to the bottom.
To assemble the cake:
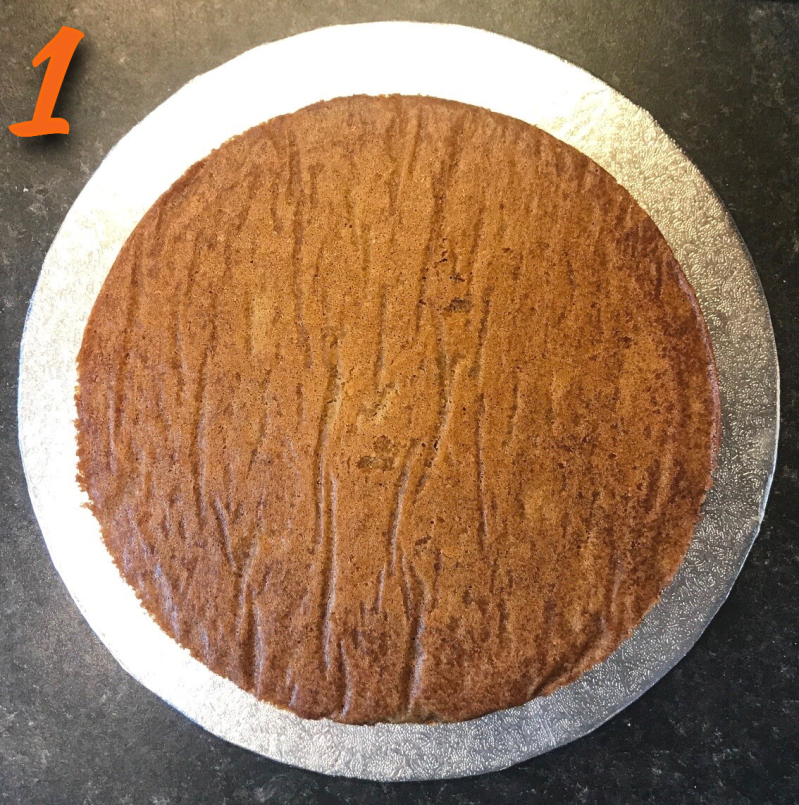
- Place your bottom cake layer in the centre of a cake board or plate.
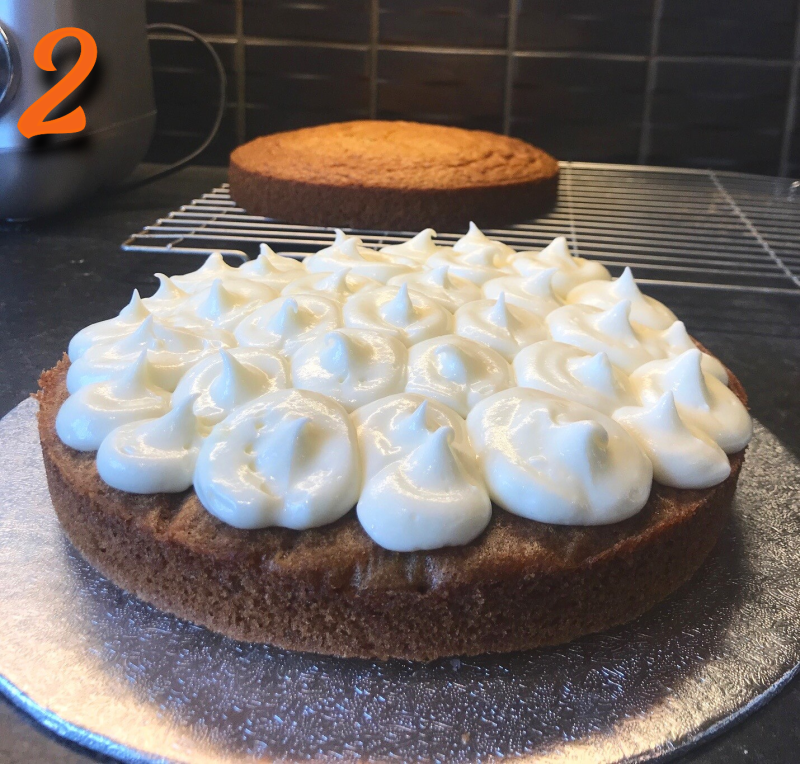
- Cut the nozzle of the piping bag about 2-3cm wide. Begin piping large circles evenly across the top of the cake layer (this doesn't have to be too neat).
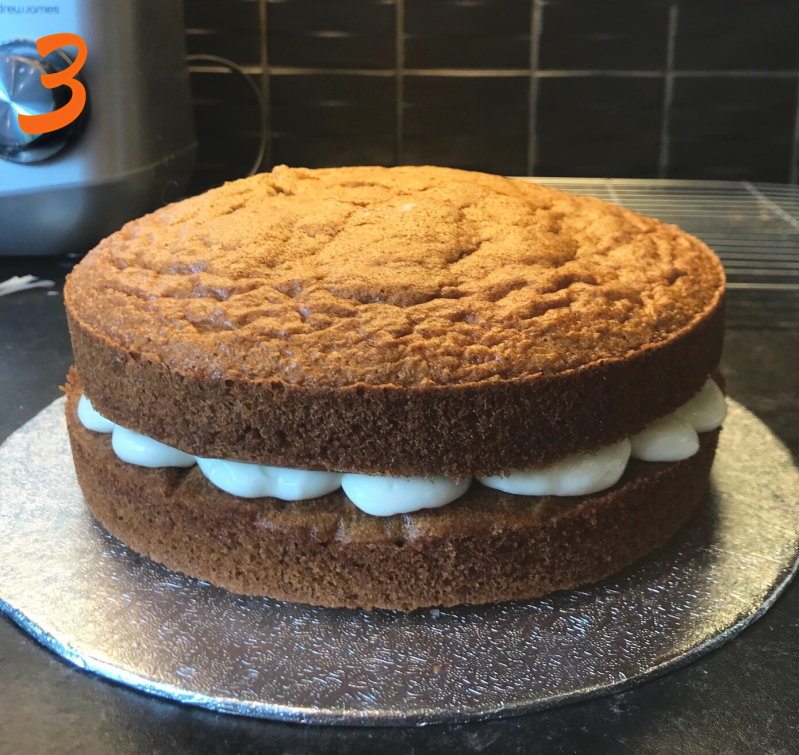
- Place the second cake layer on top, making sure its centred.
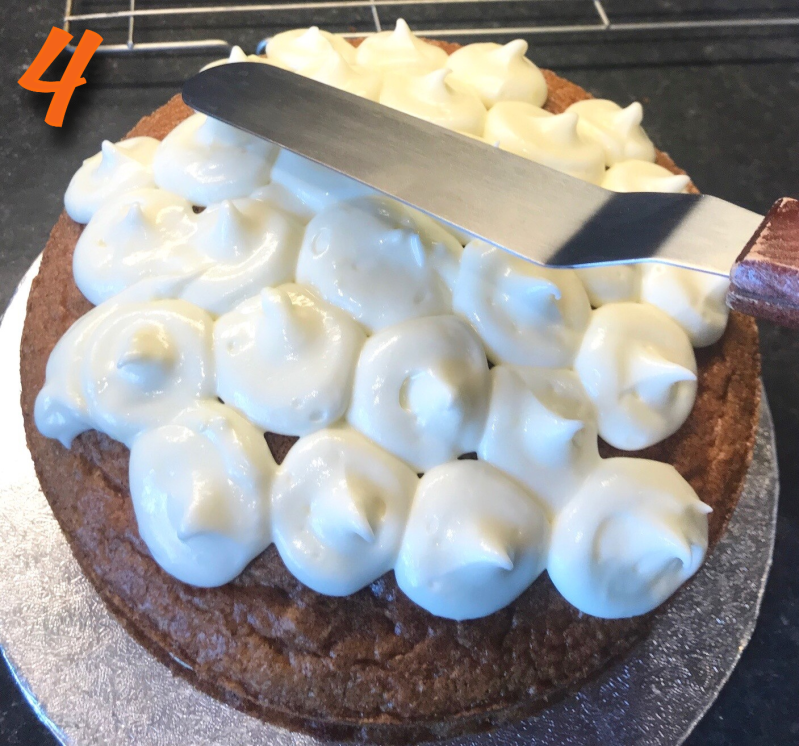
- Pipe large circles all over the top of the cake (again, this doesn't need to be too neat).
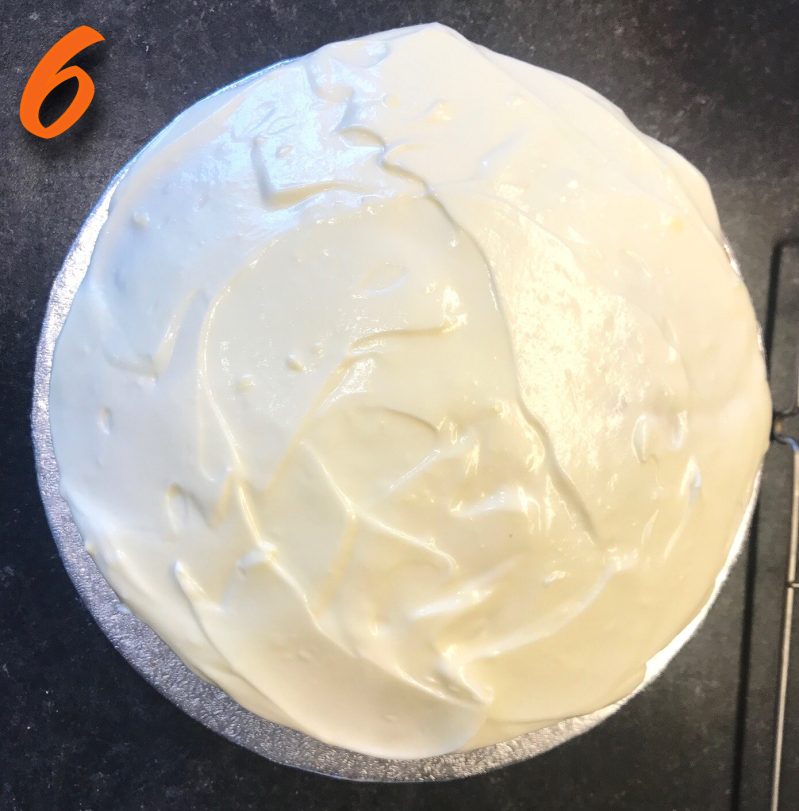
- Then use a pallet knife to smooth out the frosting over the top of the cake - making sure to cover the whole surface.
- Use a flat side of the pallet knife and tap the frosting to create small peaks on top of the cake.
- Break up & crush some walnuts and sprinkle them on top of your cake!
(see step-by-step photos for help)


To decorate the muffins:
- Cut the nozzle of the piping bag about 2-3cm wide.
- Pipe in a circle motion on top of the muffins.
- Break up & crush and sprinkle them on top of the frosting.


If anyone is struggling with measurements, check out my conversion charts - these are really handy for any recipe, so save or print them so you have them to hand for any tasty treat you bake.
Thank you so much for reading and I hope some of you try out this recipe for yourself. If you do, please let me know what you baked & how it tastes - and don't forget to send over a picture of the finished product, i'd love to see! If you love this recipe, be sure to share it with your family and friends so they can try it out too!
Please leave a rating below and feel free to leave any questions and i'll get back to you. Suggestions are also welcome! Let me know if this recipe was easy to follow, and anything else you might like a recipe for.
Until next time,
Abby x

Add comment
Comments