

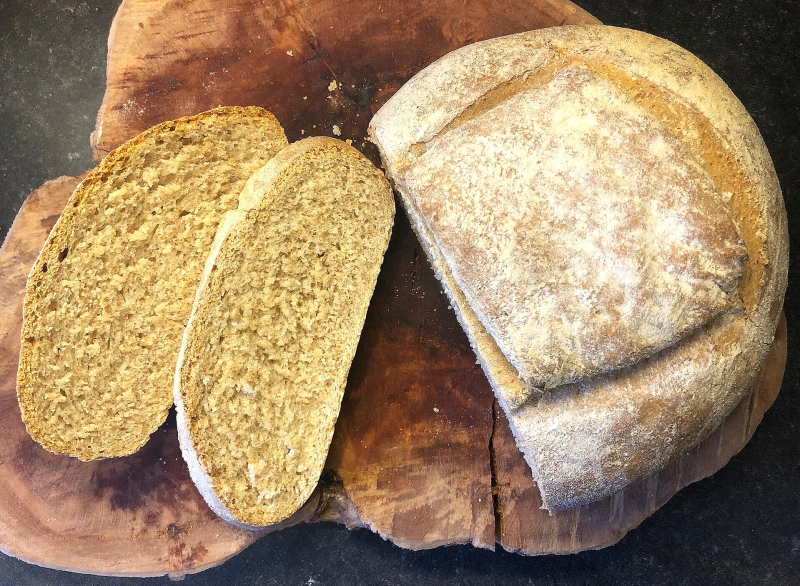
A no-fail bread recipe with a crisp crust and a soft inner, made using a blend of white & wholemeal bread flour.
This is the only bread recipe I use that, I find, works every single time without fail. If you've never made bread before, this is a great introduction to all the skills, tips & tricks used in bread baking - it's brilliant for beginners. My step-by-step photos should also make this recipe super easy to understand. My 'tips & tricks' section also includes useful pointers for when you're working with any yeasted dough. The best thing about this bread is - you only need 4 ingredients! Flour, salt, yeast & oil (and, of course, water).
In this recipe, I used a blend of strong white bread flour and strong wholemeal bread flour (although using strong white bread flour alone is absolutely fine). The wholemeal flour gives a denser texture to the bread, making it almost spring-like, and - in my opinion - adds a deeper flavour to your loaf. Just something to keep in mind - if you're just using strong white bread flour, your dough may not need as long to prove.
The amount of time that this bread needs to prove means that you can mix the dough up in the morning and by the evening it's ready to eat! Or, you can make this bread in the evening and leave it for it's first prove in the fridge overnight - this would be ideal if you were using the bread for lunch/in the afternoon.
RECIPE
Ingredients:
This recipe makes 1 loaf of bread.
- 300ml warm water
- 2tsp dried active yeast
- 500g bread flour (I used 350g strong white + 150g strong wholemeal)
- 1.5tsp salt
- 3tbsp olive oil
You will need:
- stand mixer/elbow grease!
- large bowl
- baking paper
- baking tray

Method:
- Pour 300ml of water into the bowl of a stand mixer or large mixing bowl. Sprinkle the yeast over the top and leave to activate for 5 minutes (see tips & tricks section).
- In a separate bowl, mix together all the dry ingredients.
- Once the yeast is activated, give it a mix to ensure all the yeast has been saturated. Add half of the flour mix and the oil and mix to combine (either with the dough hook attachment or by hand). Then add the remaining flour mix. If your dough looks a little dry, add tiny amounts of water until it comes together.
- At this point, either knead by hand for 10 minutes (see tips & tricks), or use the dough hook on a medium speed for 5 minutes. I like to knead for the first half in my mixer (about 2 minutes) and finish off by hand (about 5 minutes), so I can feel the elasticity in my dough. When your dough is ready, it should no longer stick to the sides of the bowl or your hands.
- Tip the dough out onto a lightly floured surface and shape into a ball.
- Place in a large, well-oiled bowl and cover with cling film (see tips & tricks). Leave in a warm spot to prove for up to 5 hours or place in the fridge overnight.
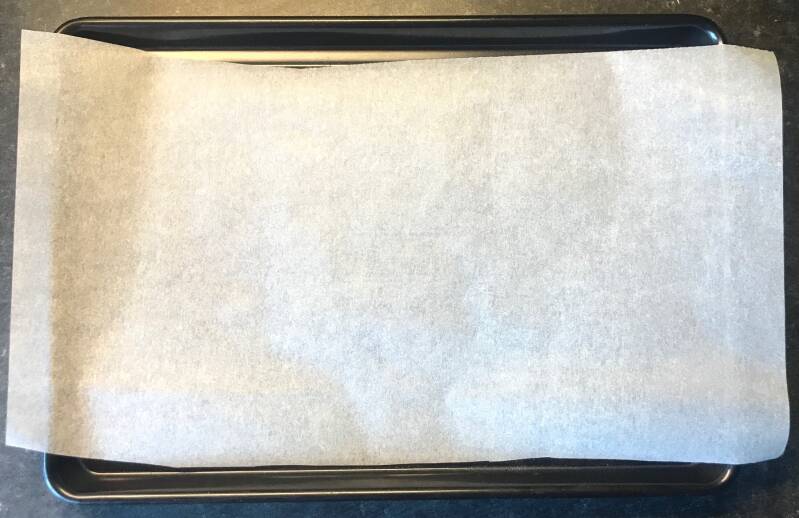
- Line a baking tray with baking paper.
- Once the dough has finished it's first prove, it should be super light and airy.
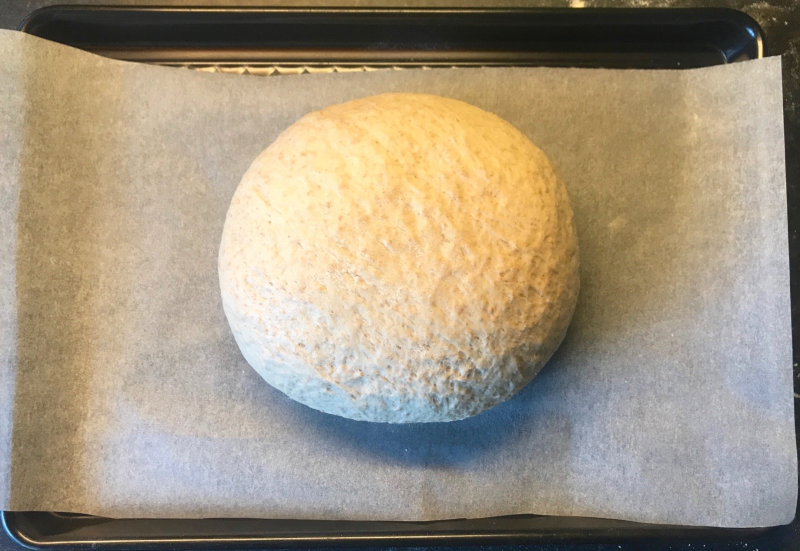
- Tip the dough out onto a floured work surface and shape the dough into your desired loaf shape (I shape it into a ball).
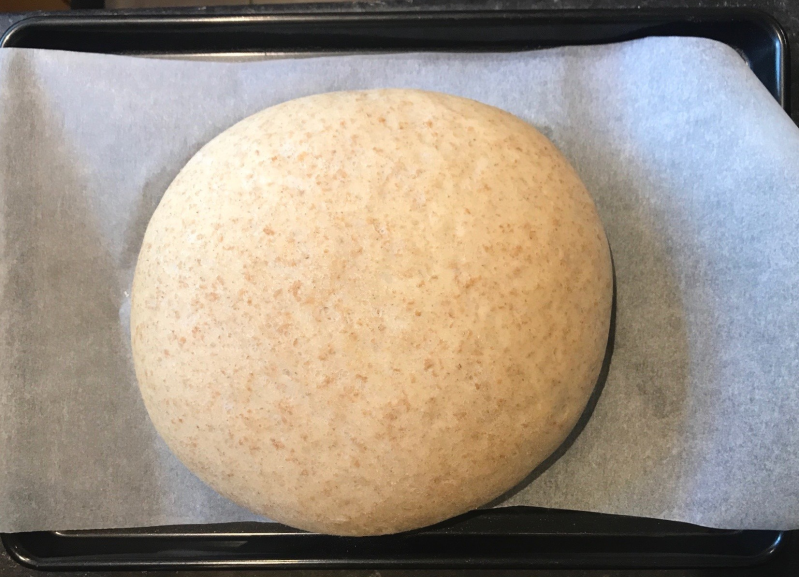
- Leave for the second prove for up-to 2 hours in a warm spot - the dough should double in size.
- Pre-heat your oven to 220C/200C and place an empty pan on the bottom of the oven.
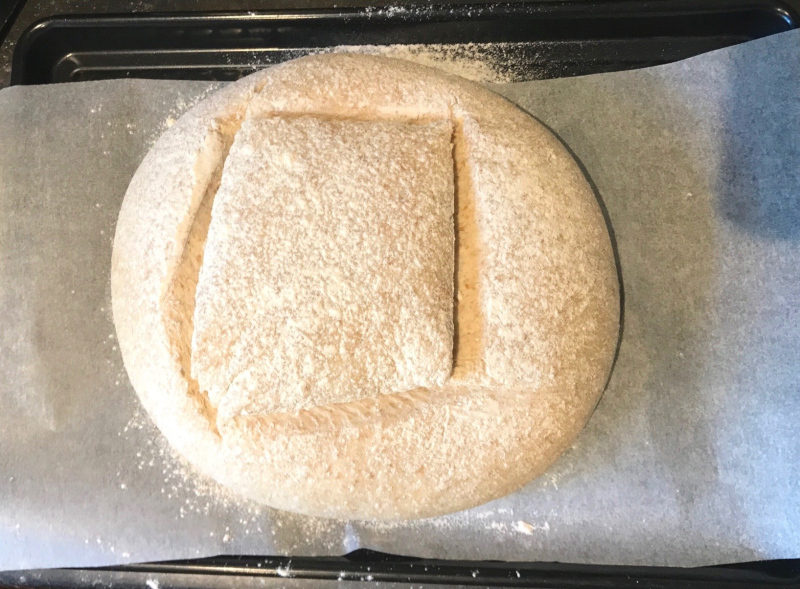
- Once the oven is pre-heated, sift the top of the loaf with a generous amount of flour and use a sharp knife to slice the top.
- Pour some cold water into the hot pan in your oven to create steam. Place your loaf in the centre of your oven and bake for 25 minutes. For the last 10 minutes, increase the temperature of your oven to 240C/220C to brown the top of the loaf.
- Take your bread out of the oven and place on a cooling rack to cool completely before slicing.
Your bread will taste best on the day of baking, but it will keep in a zip lock bag at room temperature for 2 days once completely cooled.


Tips & Tricks
Yeast:
- To activate the yeast, the liquid should be warm, but not hot - too hot and it will kill the yeast.
- After leaving to activate for 5 minutes, the mixture should be frothy, if not, your best bet is to tip it out and start again!
Kneading:
- Kneading develops the gluten and allows the dough to become stretchy and smooth. Without kneading, your dough will not rise whilst proving.
- To knead by hand: On a floured surface, push the dough away from you with one hand, whilst pulling towards you with the other (don't push/pull enough to tear the dough though!). Bring the dough back together and repeat this action for 10 minutes. The dough will be properly kneaded when your hands are free from dough!
Proving:
- Make sure that once the dough is kneaded, it is still a little sticky. If the dough is dry or coated in flour, it will not rise properly during the proving period.
- Without using an excess amount of oil, ensure the bowl is well greased all over so the dough does not stick.
- Cover tightly with cling film. I like to oil my cling film so the dough doesn't stick.
- The dough will rise best in a warm environment.
Baking:
- Make sure your oven is hot when you place your bread in the oven.
- Don't miss out the hot pan step. This will keep your bread moist whilst giving it a crunchy edge.
- Don't open the oven whilst the bread is baking - this will allow the steam to escape.


If anyone is struggling with measurements, check out my conversion charts - these are really handy for any recipe, so save or print them so you have them to hand for any tasty treat you bake.
Thank you so much for reading this blog post! Try this recipe out using the steps and photos to follow along. If you do, please send over a picture of your bread loaf and let me know how it turned out! Share this recipe with your family and friends so they can learn how to bake their own bread too, all whilst learning some key skills for all bread baking.
Please leave a rating below, let me know if you found this recipe easy to follow, and ask any questions you might have - i'll get back to you! Suggestions for other recipes are also welcome.
Please show some support on my social media accounts, and follow so you don't miss any new blog posts, recipes or extra content (you can also contact me easily on there!).
Until next time,
Abby x
Add comment
Comments