


My super simple recipe for chewy chocolate chip cookies that are even suitable for vegans!
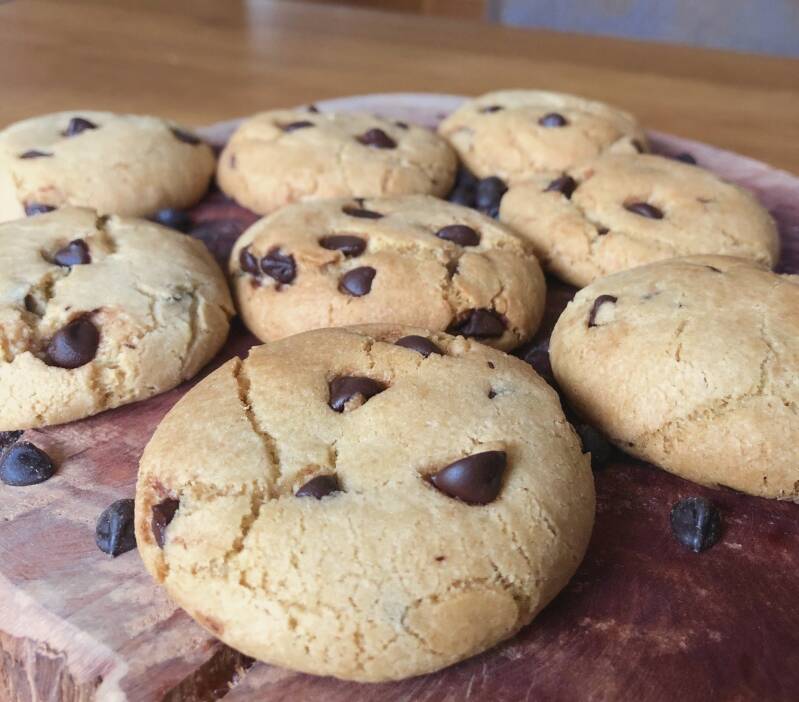

These cookies are so simple to make & any bake always tastes better when it requires less effort! You'll have your cookie dough whipped up in 10 minutes, then you just have to wait for the dough to chill (I must admit, this is the worst part!). If you love chewy cookies - you'll love these. Thick cookies with a crunch on the edge and a soft, chewy centre, with dark chocolate chips running through.
This recipe is also suitable for vegans! I use sunflower oil instead of butter & eggs as my fats. Don't be put off by this if you aren't vegan, because you really wouldn't know the difference.
(Side note: if super thick, chewy cookies aren't your thing, don't worry. I'm working on another cookie recipe - thinner & crisp with a chewy middle - so i'll let you know when i've cracked it!)
Once again, this recipe can be adapted in so many ways. Think outside the box and create some unique bakes. You can use this recipe to make stuffed cookies - I've used the base of this recipe to make biscoff stuffed cookies with a dark chocolate drizzle on top (also vegan). You can easily swap out the chocolate chips for another ingredient - fruit, oat, sprinkles. If you're feeling adventurous, you could even make some whoopie cookies - sandwiched together with buttercream. Yum!
RECIPE
Ingredients:
This recipe makes 16 cookies
- 80g caster sugar
- 120g light brown sugar
- 120g sunflower oil
- 75g water
- 1tsp vanilla extract
- 300g plain flour
- 3/4tsp bicarbonate of soda
- 1tsp baking powder
- 1/2tsp salt
- 100g dark chocolate chips


You will need:
- mixing bowl
- hand whisk
- spatula
- baking paper
- 3 baking sheets
- cooling rack
Method:
- Stir together both sugars, oil and water until well combined.
- Add the vanilla extract and stir.
- Combine all of the dry ingredients in a separate bowl (flour, bicarbonate of soda, baking powder & salt).
- Add half the dry ingredients and fold until smooth.
- Add the remaining dry ingredients and fold in. I begin with a spatula and then once a dough is forming I use my hands to incorporate the rest of the flour.
- At this point, add the chocolate chips. Again, I use my hands to fold in the chocolate until evenly distributed throughout the dough.
- Cover with cling film & place in the fridge for 2 hours or over night.
- Once the dough is chilled, weigh out 50g of dough per cookie and roll into a smooth ball. You should get 16 cookies out of the dough. Place the cookie dough balls into a dish lined with some baking paper - you won't be baking them in this dish, so they don't need to be spaced out.
- Cover the dish with cling film & place in the freezer for 10 minutes (this stops the cookies from spreading too much when baking). Meanwhile, pre-heat your oven to 190°C/170°C.
- Line 3 large baking sheets with baking paper.
- Once the cookies have chilled in the freezer, space them out evenly on your baking trays (they will spread).
- Bake the cookies for 12-15 minutes until golden on top.
- Take the cookies out of the oven and allow them to cool a little on the tray for 5 minutes. Then transfer to a cooling rack to cool completely (or don't wait and eat them gooey!).
Store in an airtight container and consume within 4 days.
ENJOY!


Tips & Tricks
- Don't miss the fridge & freezer chilling steps. This will avoid the cookies spreading too much during baking.
- You don't have to weigh out your cookie dough balls, but it will give you equal sized cookies.
- Space the cookies out on the baking tray so they don't merge together.
- You don't have to make chocolate chip cookies, you could use raisins or any other dried fruit.
If anyone is struggling with measurements, check out my conversion charts - these are really handy for any recipe, so save or print them so you have them to hand for any tasty treat you bake.
Thank you so much for reading this blog post! Try out my cookie recipe using the steps and photos to follow along. If you do, or if you use it as a base for your own ideas, please send over a picture of the finished product and let me know how you adapted the recipe and how it tastes. Share this recipe with your family and friends - everyone will be able to follow this super simple recipe!
Please leave a rating below, let me know if you found this recipe easy to follow, and ask any questions you might have - i'll get back to you! Leave any suggestions in the comments, if theres anything particular you'd like a recipe for please don't hesitate to ask.
Please show some support on my social media accounts, and follow me so you don't miss any new blog posts, recipes or extra content. Visit my Instagram page to see mini-tutorials for other peoples recipes that I love to use. I've recently documented my first apple pie, using @twocupsflour pie crust recipe - so if you want to see that, head over to @_absbakes !
Until next time,
Abby x

Add comment
Comments